> For the complete documentation index, see [llms.txt](https://docs.valorx.com/llms.txt). Markdown versions of documentation pages are available by appending `.md` to page URLs; this page is available as [Markdown](https://docs.valorx.com/valorx-wave/surf-the-wave/migrate-grid-in-wave-embedded/migration-using-workbench.md).
# Migration Using Workbench
This guide walks you through migrating Grids between any Salesforce environments using Workbench.\
Whether you’re moving from a Developer Org, Scratch Org, Sandbox, or Production, the steps remain the same.
Our example uses a Production-to-Production migration, but the process applies to any combination of orgs.
## Prerequisites
1. **Salesforce Administrator Access**:\
Ensure the user performing the migration has **System Administrator** privileges and the **Designer** role in Valorx Wave Embedded.
2. **Matching Package Versions**:\
The installed **Valorx Wave Embedded** package version must be identical in both the source and destination Salesforce organizations.
3. **Data Migration Tool**:\
Use a compatible data migration tool such as **MuleSoft**, **Copado**, or **Salesforce Inspector**. This document uses **Workbench** as an example.
## Important Notes
1. **Applicable Scope**:\
The migration process is specific to **Wave Grids** only.
2. **Grid ID Changes**:\
Wave Grid IDs will change during the migration process.
3. **Sharing Restrictions**:
* Only grids not shared with other users are eligible for migration.
* Grids with **global assignments** can be deployed.
* Grids shared with specific users or using **custom grids** are not supported.
4. **Unsupported Features**:\
Migration of **Related Grids** is not supported.
## Migration From Source Org
1. **Log in to the Source Salesforce Org**\
Access the Salesforce organization where the grid is currently located.
2. **Open Valorx Wave**\
Use the **App Launcher** to navigate to **Valorx Wave**.
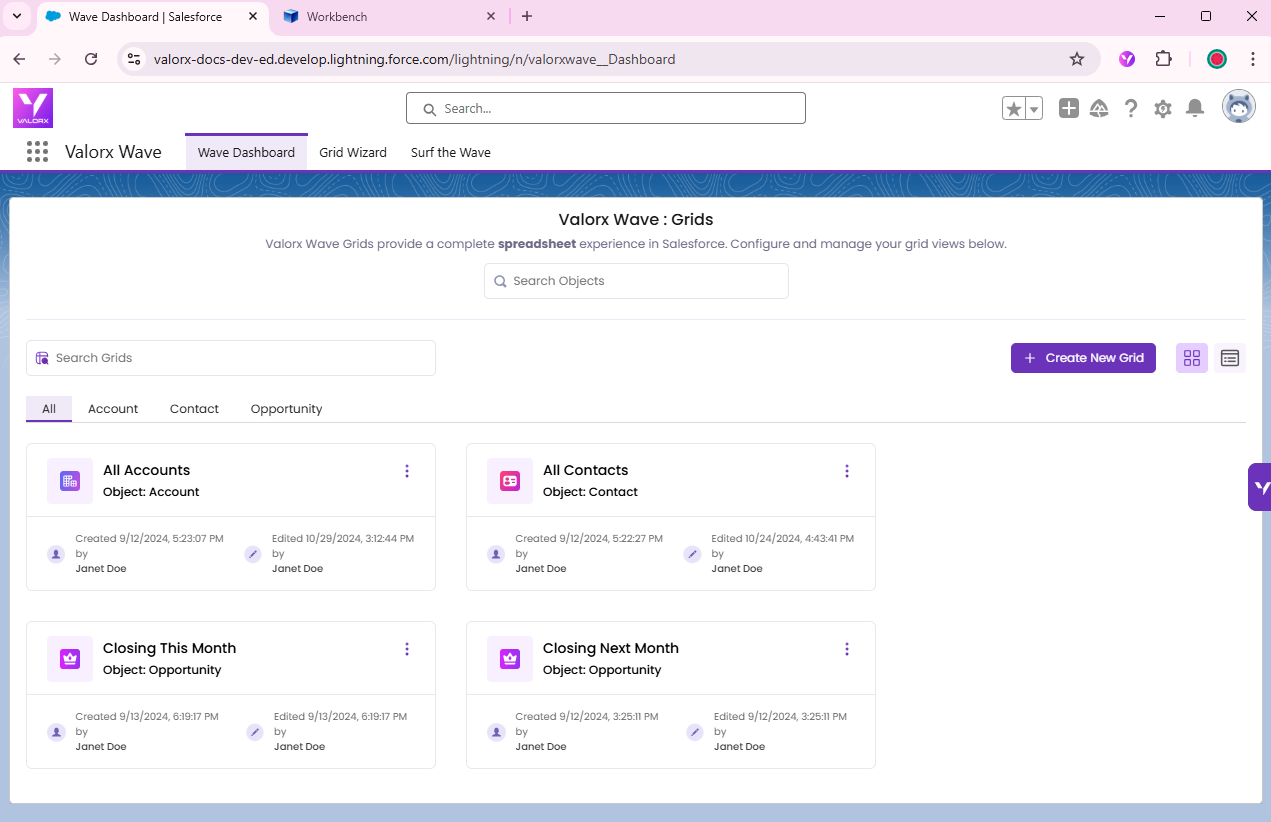
3. **Locate the Grid**
* Create a new grid or select an existing one from the **Wave Dashboard**.
* Click **Edit** and copy the **Grid Name** from the **Grid Wizard**.
How to find Grid Name
4. **Log in to the Data Migration Tools (Eg: Workbench)**\
Use your source Salesforce Org credentials to log in to **Workbench**.
5. **Run the Query in Workbench**
* Navigate to the **queries** section from the top menu bar.
* Select **SOQL Query** from the dropdown.
* Under **View As**, choose **Bulk CSV**.
6. **Paste and Customize the Query**
* Copy and paste the following query into the query box:
```sql
SELECT valorxwave__API_Name__c, valorxwave__Description__c,
valorxwave__Display_Option__c, valorxwave__fields__c,
valorxwave__Is_Publicly_Accessible__c, valorxwave__Label__c,
valorxwave__Object_Name__c, valorxwave__query__c,
valorxwave__Settings__c, valorxwave__Type__c
FROM valorxwave__view__C
WHERE valorxwave__Type__c = 'GLOBAL' AND
valorxwave__Label__c IN ('YOUR_GRID_NAME_1', 'YOUR_GRID_NAME_2')
```
* Replace `YOUR_GRID_NAME_1` with the grid name copied from the Global View Name. If migrating multiple grids, add grid names as **comma-separated values** (e.g., `'Grid_Name_1', 'Grid_Name_2'`).
7. **Execute the Query**
* Click **Query** to run the query.
* If no results are returned, ensure that the grid is permitted for export and not a custom grid.
8. **Download the Results**
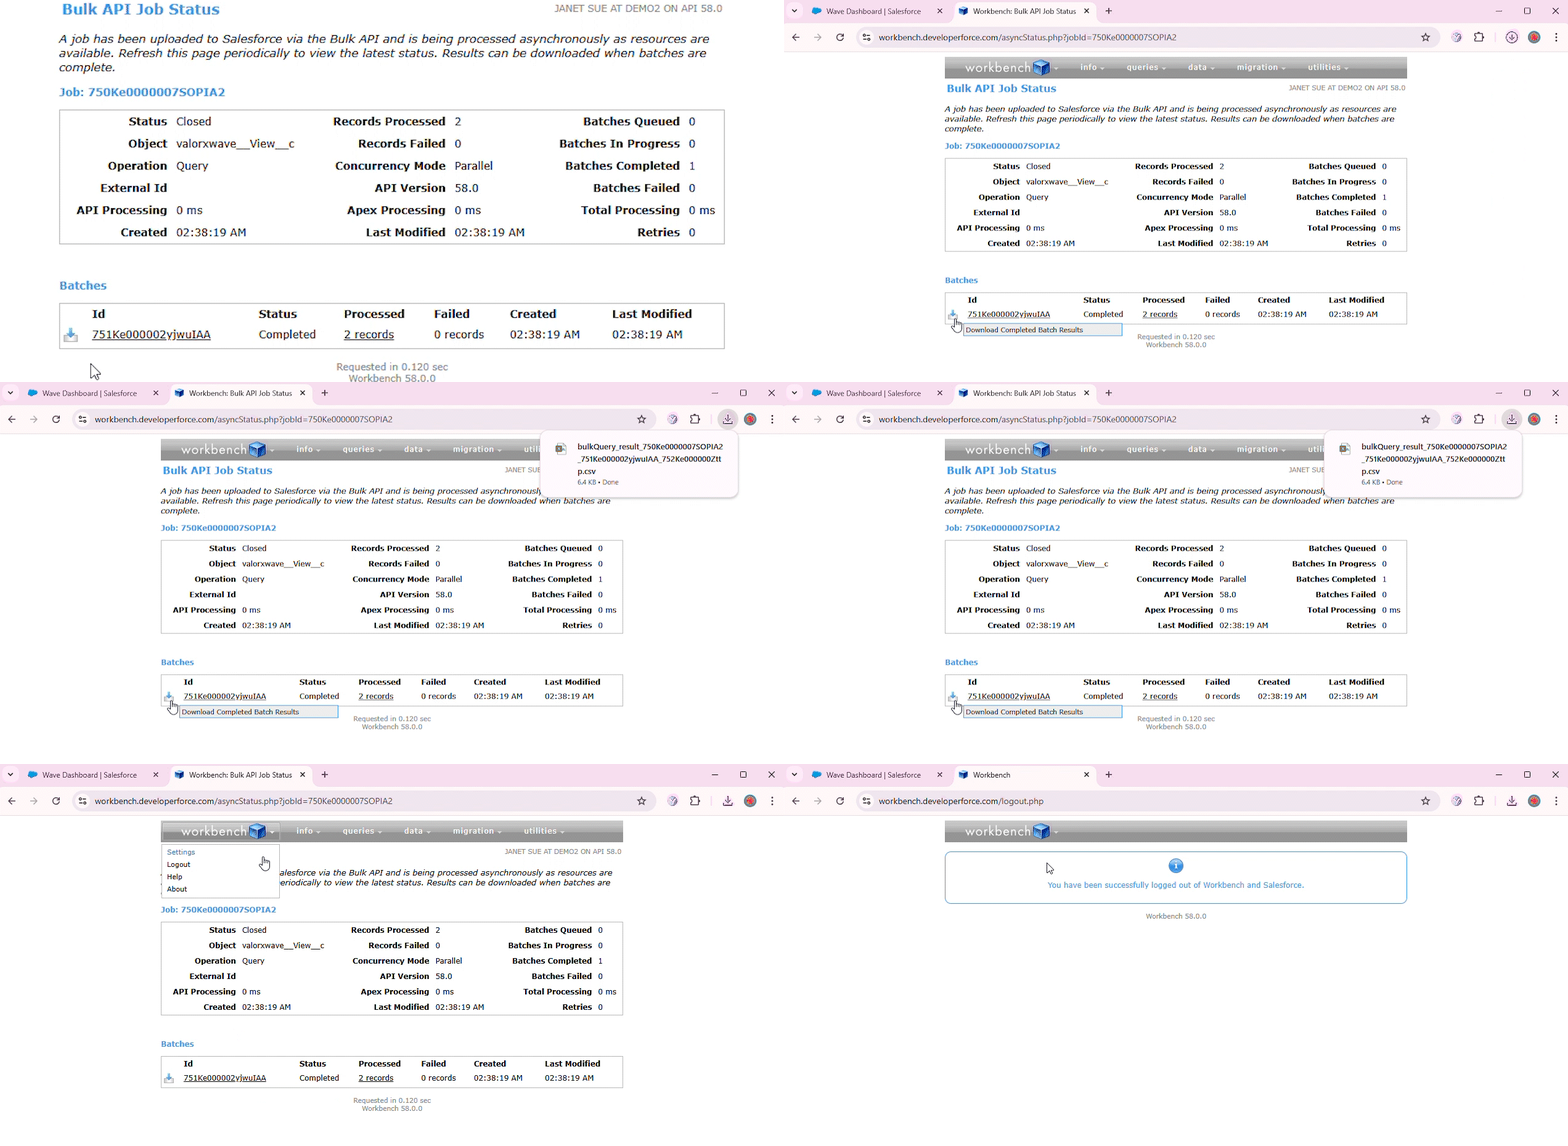
* Once the query is executed successfully, click the **Download** icon to save the results as a CSV file.
9. **Prepare for Target Org Import**
* Log out from Workbench.
* Log in again using the **target Salesforce Org credentials** to prepare for importing the data.
## Migration to Target Org
1. **Access Data Import in Workbench**
* From the top menu bar, click **data** and select **Insert**.
* Set the **Object Type** to `valorxwave__View__c`.
2. **Upload the Exported File**
* Select **From File** and upload the CSV file exported from the source org.
3. **Map and Insert Data**
* Click **Next** to proceed.
* Map the fields as required and click **Confirm Insert** to start the data import process.
4. **Verify Insert Status**
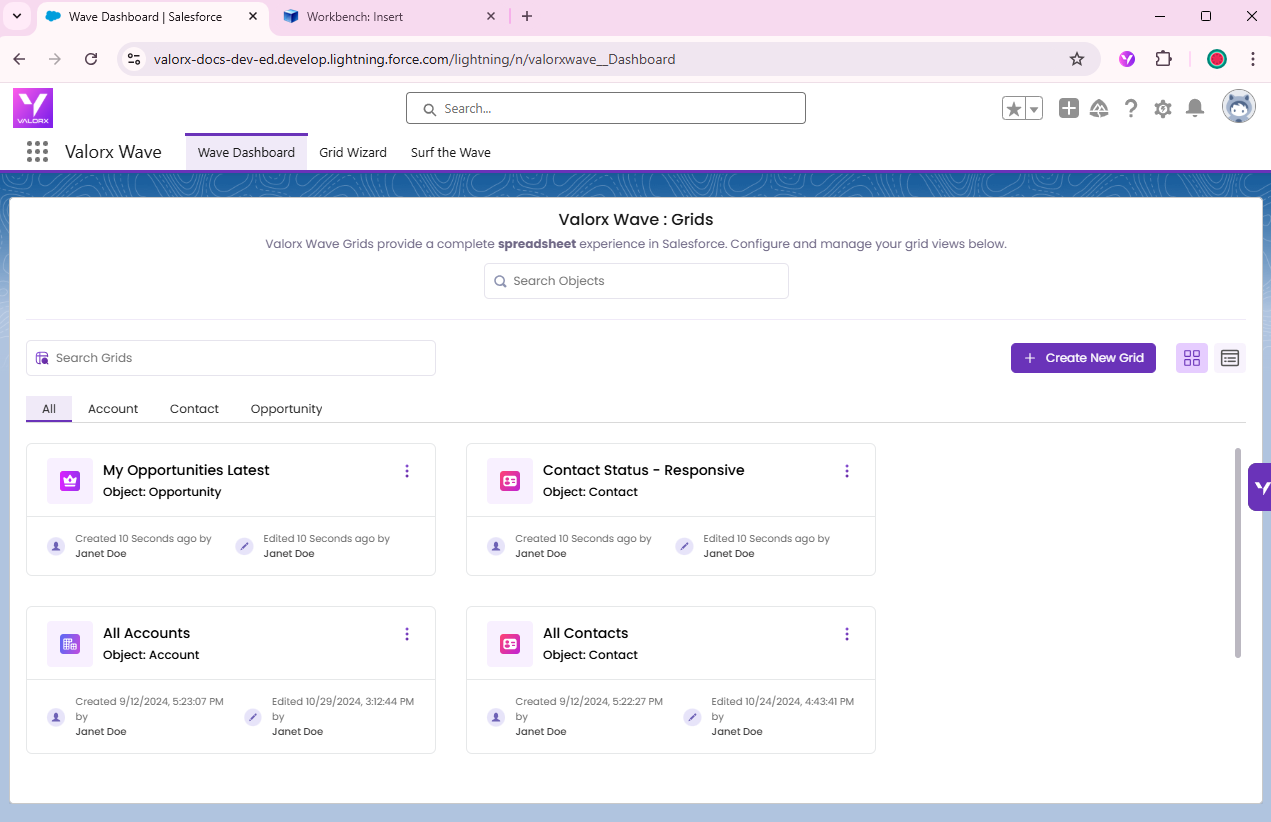
* Check the results. If you see **Result: Success** and **Status: Created**, the Wave Grid has been successfully migrated.
## After Successful Migration
1. **Log in to the Target Salesforce Org**
* Use your credentials for the target org.
2. **Access Valorx Wave**
* Navigate to **App Launcher**, search for **Valorx Wave**, and open the application.
3. **Verify the Migrated Grid**
* The migrated grid should now be visible on the **Wave Dashboard**.